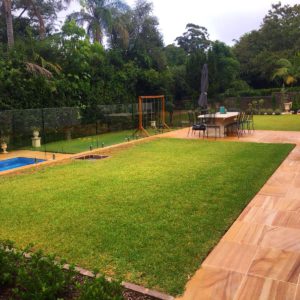
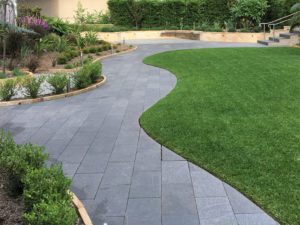
Thinking of laying new turf? It’s not hard but below are 3 steps you must do to ensure the success of a new lawn.
1. PREPARATION
The preparation of the area is VITAL to the success and longevity of a turf area. Too many times I have seen old turf die due to compaction, lack of water or too much traffic and new turf rolls just laid straight on top of the existing soil. Surprise, surprise, the turf dies and you’ve just thrown away hundreds of dollars. Preparation is key.
The first step after the removal of the old turf (if there’s any left!!) is cultivation and aeration of the sub-grade. For the soil to breathe and drain and for the roots of the turf to grow nice and deep, cultivation to a depth of approximately 150mm is ideal. Cultivation can be achieved by hand or for large areas with a petrol run rotary hoe. Depending on the existing soil, it is likely the addition of organic matter would be beneficial and this too cultivated into the soil. The use of a product called turf underlay is the next step to prepare you’re area for the new turf rolls. Ideally a layer of 50-100mm is required. Turf underlay is a free draining soil blend consisting of sand, soil and composted organics. A good turf underlay is also blended with a natural fertiliser additive to ensure the success of root growth all year round.
The weapon of choice to level a turf area is called a Lawn level. (Makes sense doesn’t it!?) It’s a tool that will evenly spread and level the soil to the perfect grade. At this stage of preparation, spend the time to get it perfect!! A lawn is something you want to do once. Do it properly and you’ll never have to do it again! Prepare the sub-grade to a perfectly smooth surface with a lawn level and you won’t have to spend the next few years top dressing to get rid of the uneven shallows and mounds in your lawn. You are now ready to lay.
 2. LAYING
Anyone can roll out a roll of turf, trust me, it’s not very hard. But when rolling out hundreds of rolls to achieve the perfect lawn, you are going to want it done with precision, care and the know-how of what to do to have your lawn looking like an established lawn in no time at all. The general rules are as follows:
- Lay a border around the area you are turfing. This ensures there are no little off cuts around the edges that will dry out and die. It also provides an easier edge to cut the remaining rolls into. Meaning, instead of trying to cut rolls into the base of a retaining wall for example, risking damaging the wall, you are now cutting the rolls about 400mm off the retaining wall into the border roll. Make sense?
- Stagger the rolls and butt them right up against each other. By staggering the rolls a bit like brickwork, the lines of each roll will be broken up. This helps in a few ways. It helps so when it rains the water does not flow in a straight lines through the lawn, eroding channels and creating uneven furrows in your lawn. It also helps break up the join lines visually. By butting each roll up against each other, you are reducing the gap between the rolls. This helps the rolls grow and bind into each other as well as creating no room for the soil to be exposed and susceptible to weed growth. With the rolling out of each turf roll, lightly walk on it to ensure soil to turf contact, this ensures the roots are in contact with the soil of which they will soon grow into. Cutting each roll can be done with hedging shears, secateurs or the straight edge of a shovel. Avoid small cuts as these will dry up quickly and get dislodged easily.

WATER
No water, no turf. Especially in the warmer months, new turf can dry out extremely fast. What ever the season, water the new turf as soon as it has been laid. The trick from then on is to keep the soil moist underneath the turf rolls to provide the roots with the optimum environment to grow and enter the well prepared sub-grade below. I usually recommend watering every day for the first week, ever second day the second week, every third day the third week and so on. Watering can be done by hand, with a sprinkler or an irrigation system. By the time this regime has been completed, your lawn will have well and truly establish a root system and you will no longer be able to lift the rolls of the soil. Adjust the above regime to suit the weather at the time. Obviously if its raining there is no need to water. Through this establishment period, it is best to limit the traffic to the area.
Following up from the 3 steps above, once a lawn is established it can the have its first mow. Only mow 1/3 of the blade length and gradually bring the length down each cut for the best results. A top dress can also be recommended to help fill in any lumps or bumps in the lawn, this will also give the lawn a feed and just watch how green it will go!!
Enjoy your new lawn!!
Written by Nick Mason
